Are you cosmetic product photographer?
No? Yes? Or maybe, but not by choice? I can understand. I’ve worked in the beauty industry for over 10 years and worn many hats, especially at my last full time position as a marketing manager that oversaw 3 beauty brands.
When I applied for the job, there was no mention of being a content creator. This just happened to fall into my lap as I was told there was no budget to outsource content creation. If you’ve ever created content, you know it is very time consuming. Many companies have entire departments or teams to handle social media management and content creation. To say I was overwhelmed is an understatement
If this sounds like you, well then you’re not alone. Maybe you’re a beauty blogger and you want to take nicer images? Either way, I’ve learned a lot along the way from trial and error and I can help you.
FTC disclaimer: This post may contain affiliate links, which means if you click through and make a purchase, I will receive a small commission at no additional cost to you.
What you'll learn in this post
- Finding What You Like
- Evaluating Those Findings
- Image Editing Tools & Tips
- 17 Product Shot Ideas + Tips. Downloadable PDF with more ideas when you subscribe to my email list
- A Note on Working with Models
- What equipment you need and what equipment you MUST have
find what you like
I never just start creating content. Content needs to flow and make sense so that it can be easily identified as yours. What’s your style or what style do other brands have that you’d like to make uniquely your own? Not sure? That’s fine.
Go on Pinterest and start researching. Make a board, secret or private, for your inspiration. Fall down the rabbit hole of color themes or aesthetically pleasing images. You can search for specific aesthetics or just start by pinning things that inspire you, whether they are related to what you’re photographing or not.
I would also recommend pinning photos that fall in line with the type of beauty products you’re photographing. If you’ll be taking pictures of makeup, pin images of makeup that inspire you.
You can also dive deeper and do a competitive analysis. Find brands or products similar the ones you’ll be photographing and pin or screenshot the ones that inspire you.
Evaluate your findings
Once you’re done, evaluate what you’ve pinned. Is there a certain style, mood, filter, color, or attitude you gravitate toward most? Don’t ignore that. Take it as a piece of evidence that you have a unique way you want to present your images to the world and run with it.
If it helps, make a mood board. A fast way of doing this is screenshoting the Pinterest board on your computer and printing out it out. You will undoubtedly be able to identify something that all the images have in common with one another
A software for digital mood boards that I like is bespoke.net. They have a free trial. I also like canva or picmonkey.
Once you’ve identified what all the images have in common, start brainstorming words to describe your style. Add those onto your digital mood board or write them in next to your printed Pinterest board.
For instance, if you like posts with a muted beige aesthetic/filter on them, start thinking about the images and mood that fall in line with that aesthetic. It’s probably a romantic style that you love. How can you make that style your own?
Beauty Product Photography equipment needs
I will link all the products I use and have used in the past for my cosmetic photography, both professionally and for my blog, at the bottom of this post.
THE ESSENTIAL equipment for beauty photography
- Patience
- A camera that takes high resolution images. It can be an iPhone camera or a DSLR. As long as you have a camera that takes quality images, you’re set to go.
- The ability to stay in uncomfortable positions for a long time. Sometimes photographing small things, like cosmetics, means crouching and bending over for extended periods of time.
nonessential Equipment for beauty photography
- A tripod – vertical and horizontal or ONE with both capabilities
- A remote control with a timer
- Soft boxes
- Background papers in different colors
- The desktop version of Lightroom
- Picmonkey or Canva
- Formal training and education in photography and lighting techniques
Image Editing Tools & Tips
Once you know the style you’re going for, find out how to make your images replicate that style in your own unique way. You’ll no doubt be editing your images whether that means resizing them or manipulating their colors.
Editing could mean creating your own filter in Lightroom or on VSCO. Lightroom’s app is free but the desktop version is not.
Many people don’t mention this, but you can make your own filters in filter apps, like VSCO, too. Just save the image after each adjustment and then re-upload it and tweak it further by layering filters until you get the right filter for the look you’re going for. I would recommend just using Lightroom though. It’s the best way to create your own very unique filter. Even if you choose to purchase filters, most of them use Lightroom anyway.
I also use Photoshop, but I feel that Lightroom is sufficient for most of my cosmetic photography needs.
The bottom line is that editing is very important because the way you edit your images becomes your mark. For this reason, I can’t tell you how to edit your images. You have to find your unique style. Play around with editing software to find what works best for you. Know that it’s good to have a consistent, strong, and easily identifiable mark.
Some Editing Suggestions(not RULES just Suggestions):
- Never zoom, crop instead
- Edit out marks on the background that could distract from the product
- Clean the product before you shoot it or use a brand new product if it’s too damaged to shoot. If you can see fingerprint marks on a products reflective packaging, they might distract from what you want to be the main focus.
- Try not to over brighten images, over saturate images, or strip them of their color. This is more of a tip for those of you who are shooting products for a brand. Your boss might not like it if you can’t see the true colors of his/her products.
- Play with texture and grain. Making things sharper is one of my favorite editing tricks. I will isolate an area or product in an image and just sharpen that product or area..
- Don’t take photos with poorly manicured, chipped, or dirty fingernails. It doesn’t matter what gender you are. Fingernails don’t need to have nail polish on them, but they need to be clean. If not, it distracts from the product.
- Remove hair ties from your or your models wrists, unless they are intentionally in the shot. You won’t like having to spend hours editing our a basic black hair tie from a shot. Trust me.
17 Product Shot ideas + Tips
When it comes to product photography, the less rules the better. Here’s some ideas for how to take images.
- Surface level with the product placed on the counter and you bending down to get a shot of it at eye level
- Shoot from above. Remove the cap, if it’s a jar and expose what’s inside. Lay it flat on the table and take a shot from above.
- Shoot just the raw product. Get up close and personal with the contents of the product. If it’s a cream shoot just the cream up close.
- Try getting a hand or face model or be your own model. If you get a tripod, you can be in the images.
- Consider the product’s name and ingredients. What’s in the product? Is there a heavily marketed ingredient the product strongly identifies with? A perfect example of this is the Watermelon Glow Sleeping Mask by Glow Recipe. Shooting that product on top of some watermelon makes a lot of creative sense.
- Choose props that make sense with your overall style of shooting and the product you’re shooting. You’re not going to add a toy truck next to your Dior Blush or Chanel Rouge Lipstick LOL, but you might add some pretty jewelry or shoot them on a pretty tray.
- Shoot with other products and use other products as props
- Shoot a BTS shot. Sometimes we are so zoomed in on what we are shooting that we dont realize the entire BTS shot is a beautiful mess of product that would make for a great photo!!
- Open the product and shoot it. Don’t be afraid to shoot it opened, closed, falling over, even broken. I’m not advocating for breaking your products, but if your bronzer or blush happens to break, sometimes that can make for a cool picture!
- Shoot with your products packaging if it’s nice. Some product have such nice packaging, like Chanel, that it makes for a really nice prop.
- Shoot products how they are used in everyday life. Shoot them near your purse, in your makeup bag, on your vanity, or even just in your hand. A shot of a face cream on someone’s face can be cool too.
- Consider texture and season. If you’re in the middle of Summer, you might want to save that furry background for Fall and Winter. If you’re in Winter, a sequins or sparkly background is very relevant for the time of year.
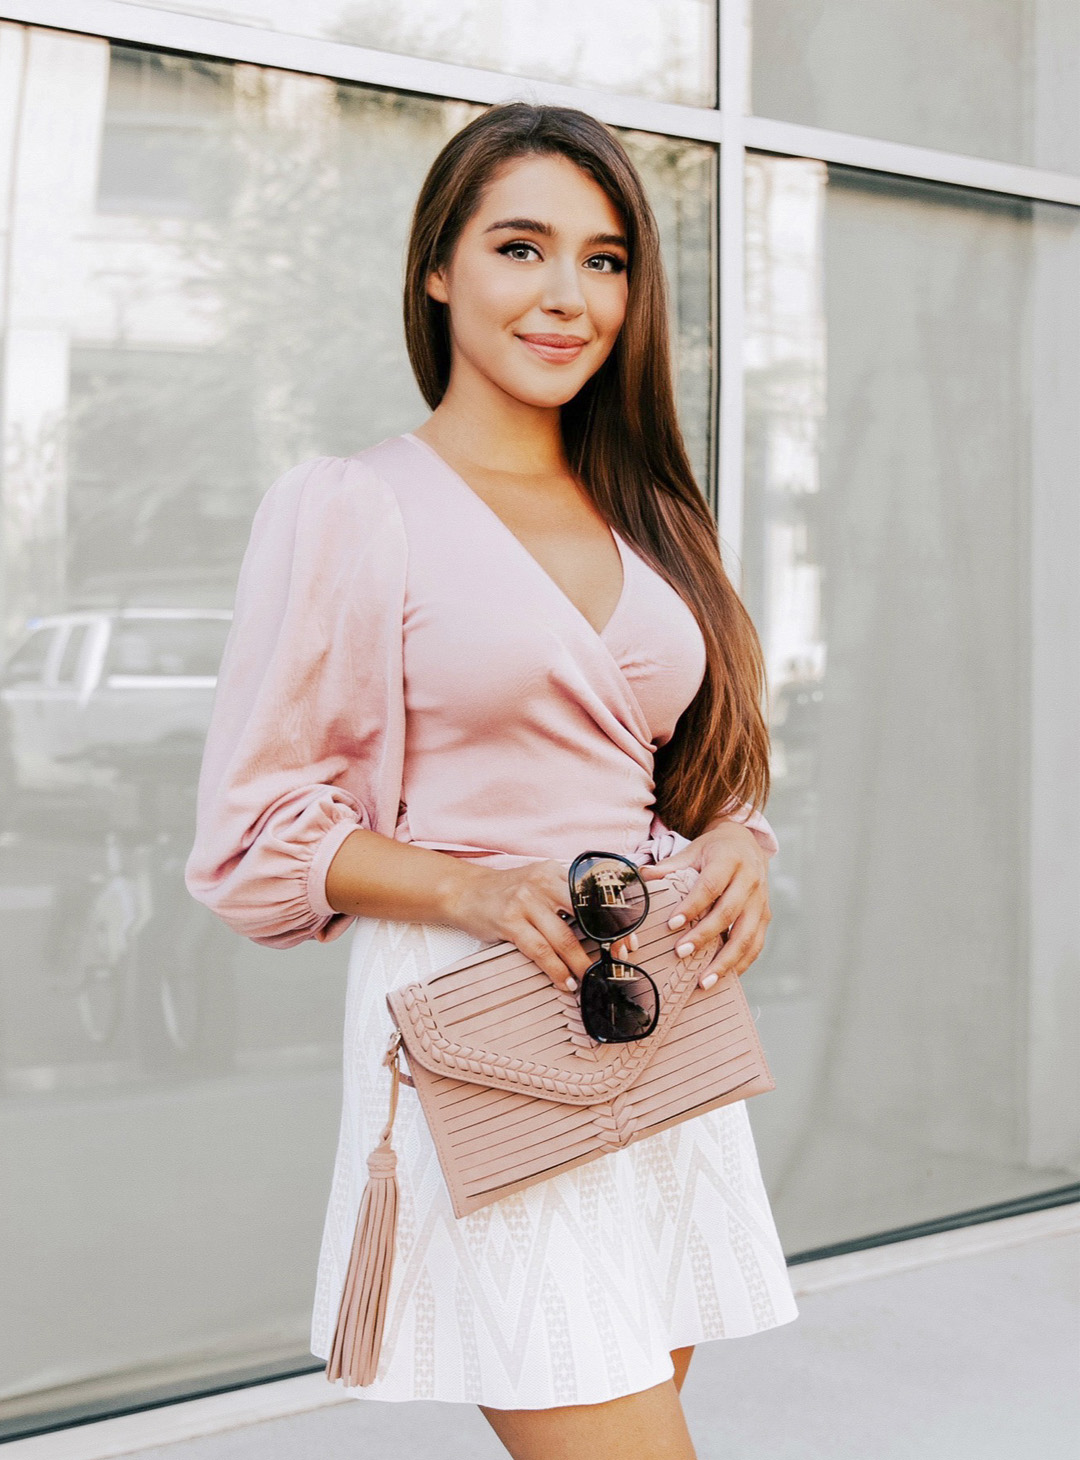
- Consider trends in Fashion for background and props. If romantic-style sleeves are on trend, consider using it in a photo with a model. If gingham print is very popular, consider incorporating it one way or another.
- Use your products claims as a tool for picking props or a setting. For instance, if you’re shooting a product that claims to be very hydrating, consider shooting it in a setting with water.
- You don’t always have to overthink it. Some products are just made beautifully. Just shoot it. A good example is the Dior Backstage products, like this blush. A lot of Dior products have stunning prints on their powders and they look incredible in shots, especially when you add sharpness and texture to the shot.
- Instead of using a products claims to help you decide upon a prop or background setting, use the opposite of its’ claims for inspiration. For instance, I recently saw a hand cream photographed on top of what appeared to be a dry, cracked, desert floor. This made the lotion stand out and sort of quietly said, “this product is the way to combatting this dry environment we’re putting it up against”.
- Play with shadows. Some people hate having shadows in their shoots. You should experiment and see what category you fall into. You can let the products shadow be the only shadow or use props to make shadows. For instance, you can use a palm leaf or edit in a palm leaf shadow over your image to make it more “tropical feeling”.
- Play with light. Try using mirrors and reflectors to bounce light.
- Use an external hard drive
- Buy the SD card with the largest amount of space
- Buy a backup battery for your camera
A note on working with models
- Make sure you send out call sheets to the model with criteria for exactly what is expected of them. Prior to the shoot, let your criteria for shoot times, hair, makeup, appearance, and wardrobe be known so there are no hiccups along the way.
- Always keep it professional. Ask models what they are comfortable with. If you need to adjust their hair or pose for a shot, ask them before you touch them, use a female assistant, or allow them to make their own adjustments.
- It’s easy to find free models or models who will work in exchange for free product, but remember that models need money too.
- Make sure you establish with the model that you have consent to use the images how ever you want to use them. This is often done in form of a hardcopy legal contract or waiver. You can find templates for free waivers online, but your best bet is to have one drafted up for you by a lawyer who specializes in this area. These documents need to be signed before you shoot.
- Models often want to see the photos and be able to use them for their own portfolios, let them know when the photos will be available with a realistic timeline and establish whether or not using them in their portfolio is okay prior to the shoot or you posting them.
- Modeling is work. Make sure your models are comfortable. This could mean having snacks, water, chairs, and the AC turned on for them.
- Communicate payment methods with the model/models prior to them accepting the job. Let them know how they will be paid(PayPal, Cashapp, Venmo, direct deposit, a mailed check, and etc.) and when will they receive payment.
Thats all my tips for today! Thanks for reading.
xo,
Crystal

Thnx
Love these tips!!! xoxo