


One thing I miss since quarantine started is getting my eyebrows done. I just ask the person doing my brows to cut or tweeze(if necessary) them. I’m taking retin-a so I don’t wax my face. Waxing and retin-a don’t mix well.
Skin is more susceptible to burning while on retin-a, so you should stop using it at least 2 weeks prior if you want to wax. Since quarantine started, my eyebrows haven’t been in the best shape. They were already overdue for some primping prior to quarantine.
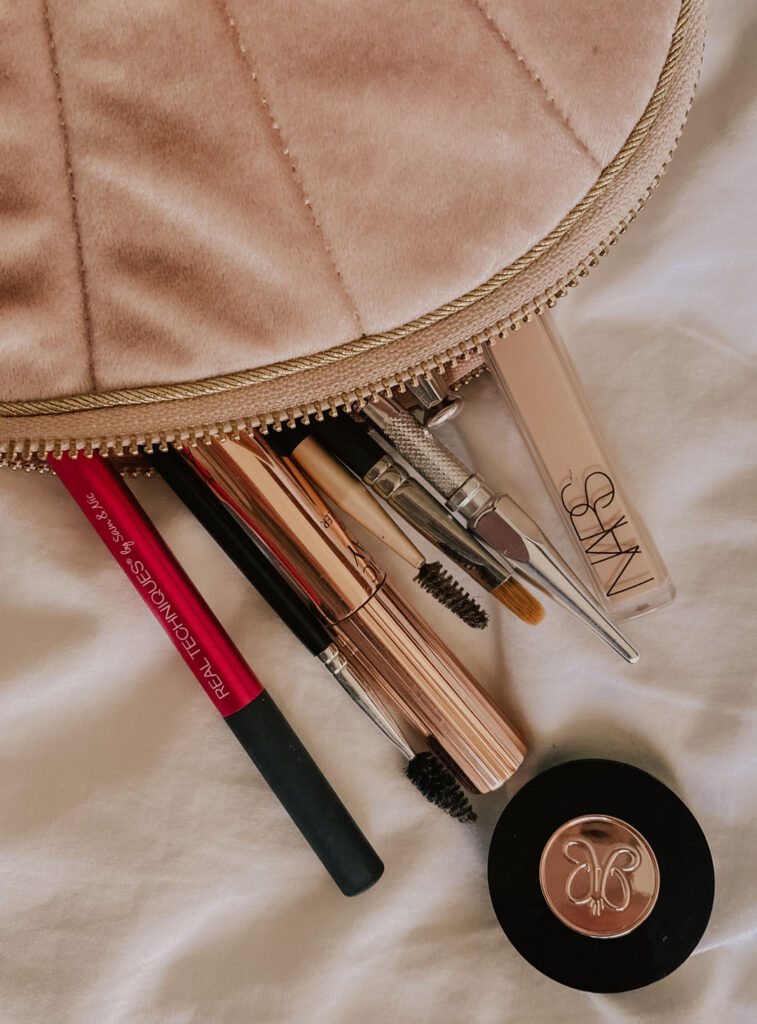
My eyebrows are very asymmetrical because I have a scar on the left eyebrow. Luckily, my brow hairs grow in pretty long, which helps with covering the hairless patch; but, I still need brow product to completely conceal it. This is my routine. I learned how to do this in makeup school, when I was getting my makeup artist certification(shout out to The Academy of Glam). Here’s a breakdown of the eyebrow products I use and how I use them to make my eyebrows appear more symmetrical and clean! Alright, let dive in.
Everyone has a preference for how they want their eyebrows to look. I like mine to look clean, but still natural. To achieve this look, I shave(using a facial razor) the hairs that are noticeably far out and away from my eyebrows. Plucking is an option, but it’s painful and there’s a chance plucked hairs won’t grow back. If you shave them, be very careful and use the appropriate tool.
*If you want to leave this to the professionals or if neither shaving nor plucking is appealing to you, but you still want to conceal the stray hairs, you can always use a concealer to cover them after you fill them in.
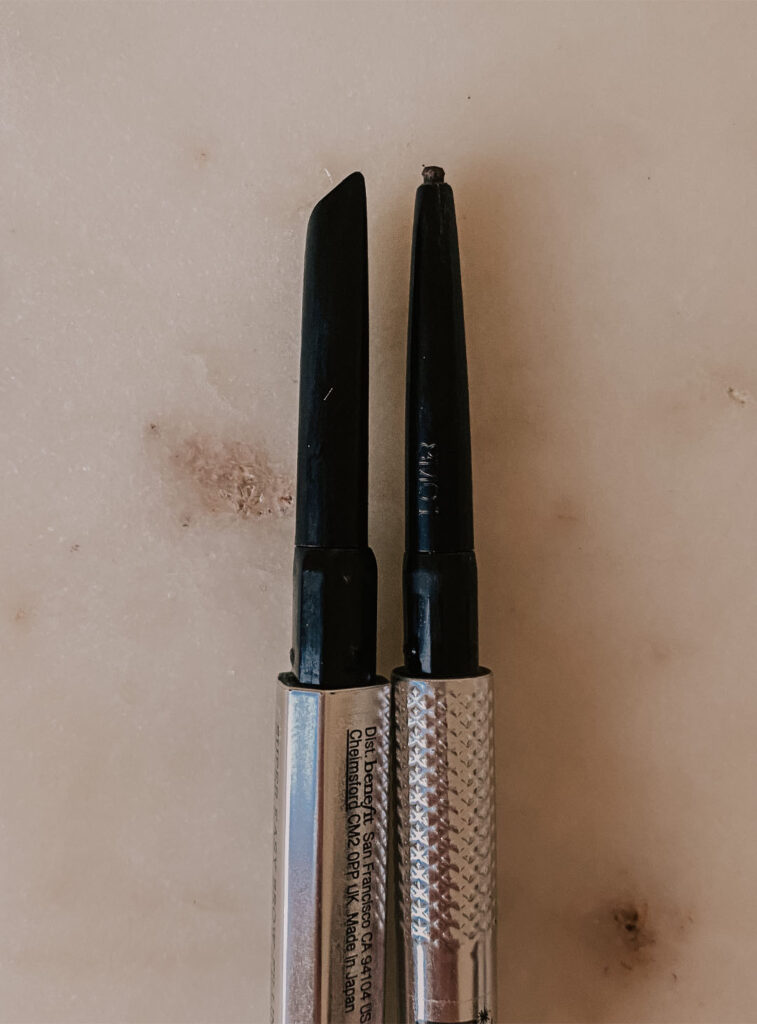
Using a brow pencil with a precise tip, outline the shape of your brow, starting at the base. I just follow my natural brow and I use a very light hand, especially at the base. Sometimes, especially if I am in a rush, I cheat and use the ABH brow stencils. I love using them when I don’t have a lot of time. If you buy them, know that they’re very easy to misplace because they’re so small and clear, so put them in a safe place!
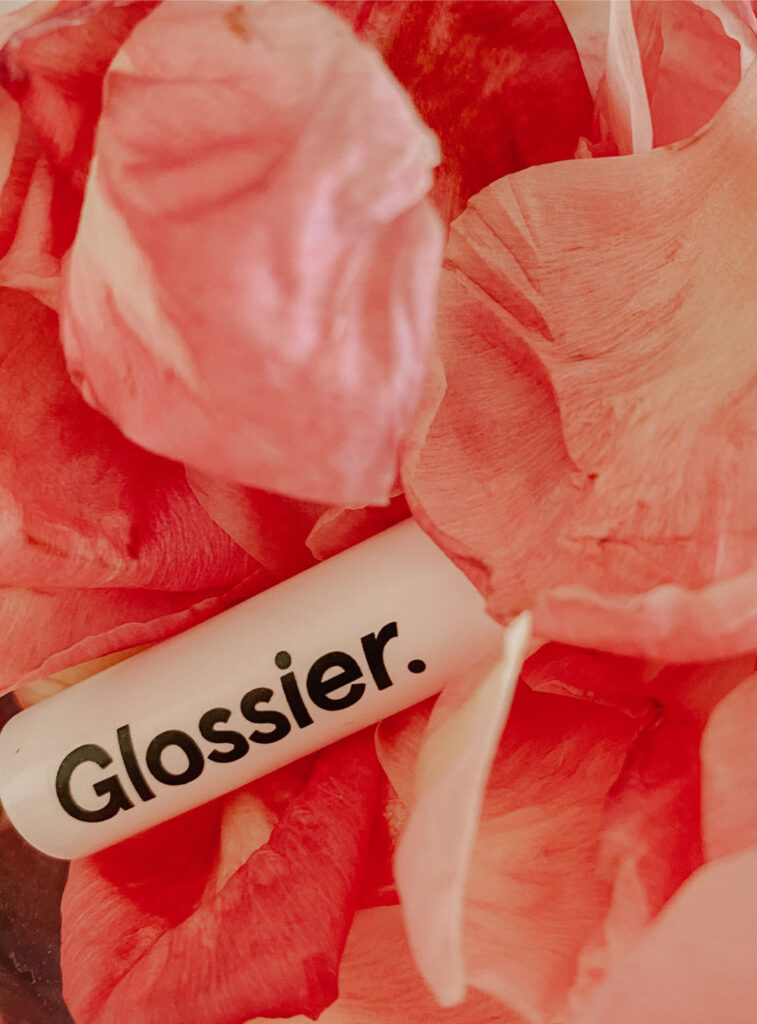
Using light strokes, I feather them in, beginning at the base and working my way to the tail. If I want them to appear darker and fuller, I use a brow builder like, Glossier Boy Brow or EWC Browfection Brow Builder. Because of my scar, I spend extra time on this step. Once I finish filling them in, I use a spoolie to “fluff them up”. The main purpose of this is to soften any harsh looking edges or lines, especially around the base.
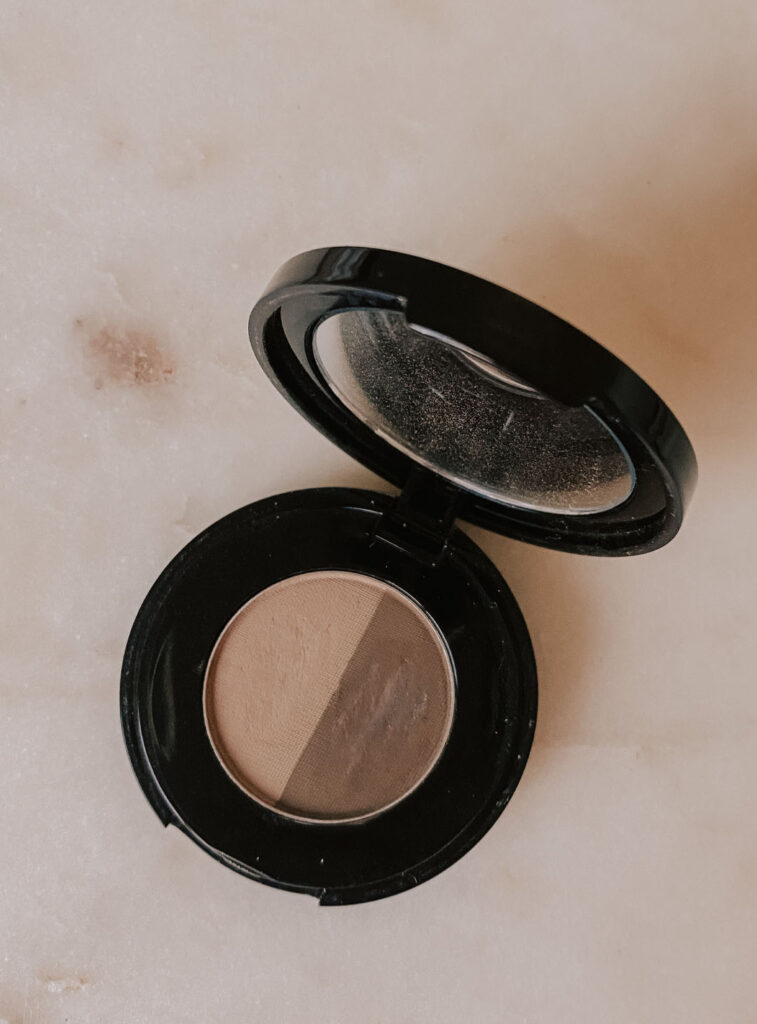
*If I’ve gone overboard with the product, making my brows appear too dark, I fix it by using setting powder to lighten them up. Then, I touch them up again, lightly, with a spoolie and some more product(just in case they got too light/look powdery from the setting powder).
Using a concealer brush and the same concealer I use on my under eye area, I conceal around my eyebrow. Then, I blend the concealer with a beauty blender or my fingers and I set the concealer with my usual facial setting powder. If I need them to hold, I use a clear brow gel.
*If I’m doing my eyebrows before my face makeup, I’ll set them later.
&, voila! That’s it! Short and simply, but it takes time. You have to be patient to get it perfect. If you can’t take the time to get it right, try a stencil. They really work. Even after spending all this time on my eyebrows, they still might not look identical and that’s just fine with me. Because of my scar, I cut myself some slack. If you have a scar, you’re not alone and not as many people notice it as you think! Good luck and let me know how it turned out for you if you try my method!🙂
xo,
City & Chic

Welcome to City & Chic, a blog all about beauty, fashion, and lifestyle. My name is Crystal and I'm the voice behind the blog.
Subscribe to the City & Chic newsletter to be notified about recent blog posts, giveaways, sales, & more!